
Christmas Pillow Covers
12:10 AM
I finally have a project to blog about. I've been sewing things I have to wait until I blog them, and we've all been sick or teething this week at my house....tis the season.

Two things I love, Christmas and envelope pillow covers.
Actually I don't really love pillow covers, but they're so easy to make and saves a lot of money, I seem to make them a lot.
Last year I made this noel pillow cover and wanted to add a few more.

The background of this first pillow is an older Moda cotton print by Basic Gray I got on clearance for $2/yd last year. The print was so busy I decided I needed an applique patch for the word.
1. I traced my word onto freezer paper, cut it out, ironed the freezer paper to my red fabric and painted the text with fabric paint. More details on freezer paper stenciling here, or you probably already have a craft cutter you could use too. Then cut your desired shape from interfacing.
2. Sew the interfacing to the right side of the word. **Make sure the fusible side of the interfacing is facing down on the words, or right sides together (fusible/ sticky side being the "right" side of interfacing)**

3. Trim all the excess fabric from your patch. I used pinking shears to trim pretty close to stitching. Because mine is an oval, you need to cut really close or snip the seam allowances.
Snip the interfacing in an "x" shape in the center.
4. Using the open hole in the snipped interfacing, turn the patch right side out. The fusible side of the interfacing should be the back of your patch now. You can just position it on your base fabric and iron it on, and the interfacing should adhere your patch wherever you want it, and the shape has nice finished seams.
I chose to hand sew the edges of my patch with blue embroidery floss. You could always just wing around the edge with your machine too.

I also made another pillow with a square patch.
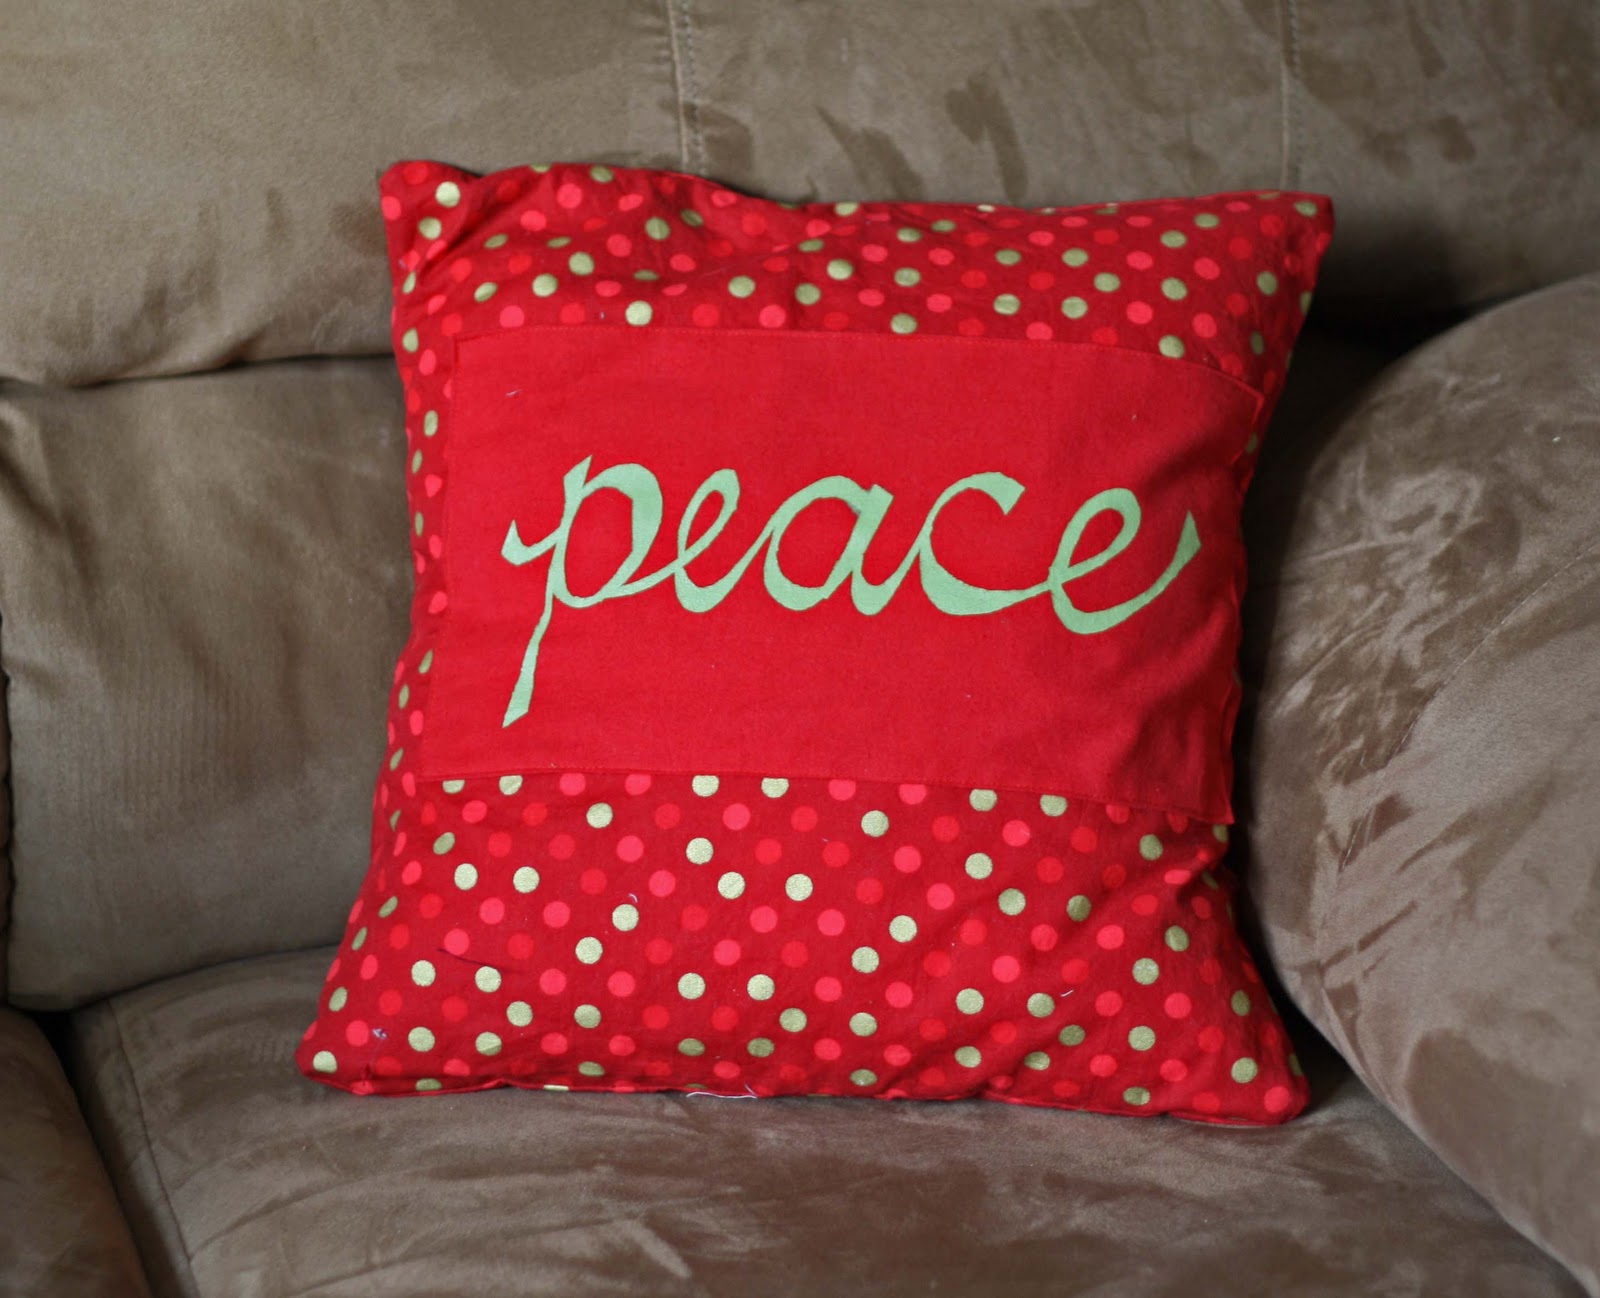
I didn't want to draw attention to the edges of this larger patch so I just used red thread to sew it on the base.

Each pillow cover comes together really quickly after the letters are painted, probably around 15 minutes.
I like making holiday pillow covers because they can be stored in a sandwich ziplock bag the rest of the year.


10 comments
They are so cool. Thanks for taking us through the steps.
ReplyDeleteYour cushion is very effective...The big red JOY really works well wiith the busy fabric
ReplyDeleteI love the pick-stitching on the joy.
ReplyDeleteOk, the trick with the interfacing so it creates the seamed edge AND you can iron it on...brilliant.
ReplyDeleteThis is a great idea! On my couch I have 5 pillows (for support) but how cool would it be to make covers for them for different holidays? Thanks for sharing!
ReplyDeleteSo cute! Thanks for sharing!
ReplyDeleteI love the "peace" one....beautiful!
ReplyDeleteI'm glad to find you. You're very talented.
ReplyDeleteJust saw you on All Free Sewing!!! Your FAMOUS!! lol Congrads to you.
ReplyDeleteVery festive! It's getting late in the season to make some, but I want to get a few done to spruce up our sofa for Christmas morning. Yours are a great inspiration!
ReplyDeleteThank you for stopping by, we love to hear from you!