
Rustic Mantle Beam Install and Drywall
12:49 PM
We hired out the drywall.
But before the crew could come we had a few custom projects to do ourselves.
RUSTIC MANTLE BEAMS:
We have two fireplaces and wanted rustic wood mantles.
We sourced beams, and decided we didn't want bolts visible on the front, so we had to mount them to the framing before drywall.
This creates a floating look to the rustic mantle beam.

We'd told the framers our plan for the heavy beams, which weighed 100 lb, and they framed above the fireplaces accordingly.
To mount each beam took two people.
I got behind and straddled the fireplace while my husband stood in front holding the beam level.
1. Predrill 2x6 mounting framing.
We positioned holes in the framing across the area the beam would end up.
2. Drill and Mount Beam
From behind, I drilled a pilot hole with an auger drill bit into the beam, an inch or two less than the screw.
Then quickly inserted a long hex screw with washer and tightened it.
Then quickly inserted a long hex screw with washer and tightened it.
Once we got two in the beam and it was level, it was easier to secure the others.

The basement fireplace was having a rock surround, so we actually bumped it out another 1.5" with a 2x8 backer. This way 2" of the beam wouldn't be covered and embedded in the rock and we'd get a deeper mantle.

Info for the rock we used here:
The main floor was the same process.

PLAYROOM UNDER THE STAIRS
The other detail was adding an arch.
We chose to use the space underneath the basement stairs as a playroom or hut.
It was framed for a full sized door, so Rhett and I framed the opening lower and used an arch kit from Home Depot for $20.
It was really easy to install.

Then when drywall went up, it was a cute arched doorway.
The kids love this little room just for them.

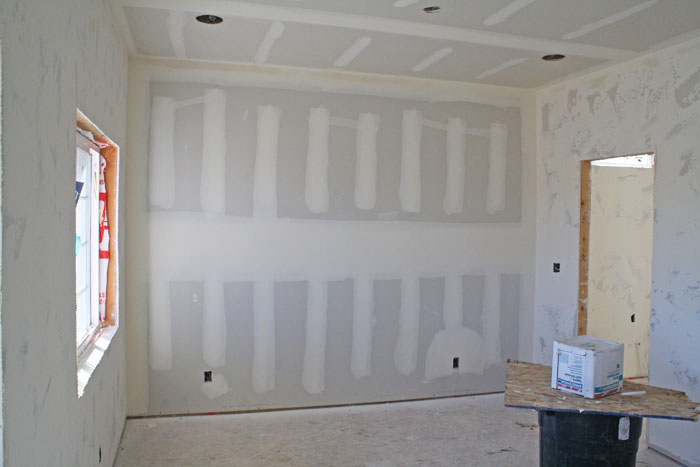
SMOOTH DRYWALL TEXTURE
In the master bedroom, I had planned an accent wall.
Our mud/ texture crew did one wall with a smooth texture, and the rest of the house had a medium scrape texture. The scrape texture kind of reminds me of the Venetian plaster look.
I'm glad I had planned enough to have the smooth texture, because in projects down the road it made it a lot easier. I actually wished I'd had them do smooth in our entryway that I was putting up wallpaper for as well.


3 comments
Cool! Your house is incredible. And good call on hiring out the drywall! I did two walls in our kitchen and have several patchy spots to still do and I cannot even tell you how much I dislike it, lol.
ReplyDeleteTHat is impressive to drywall your kitchen! We considered it at one point and decided it was money worth spending. It would have taken us forever!
DeleteI'm nowhere near professional! Thankfully most of it will be under backsplashes and cupboards and such!
DeleteThank you for stopping by, we love to hear from you!