
Tutorial: Halloween Arbor
12:58 AM
If you were looking at this blog last October, you might remember all my cheap Halloween projects.
Basically the dollar store creeped out.
Last year was lots of little Halloween projects, and this year is a few, larger ones for outside.
Some people prefer cute Halloween, but most of the time I like creepy, dark, and gruesome.
This project is kind of in between.
It was inspired by The Nightmare Before Christmas.
We love that movie at our house, remember the Jack the Pumpkin King tee last year?
RJ wears it all the time--year round.
So I was watching The Nightmare Before Christmas a few weeks ago while I was sewing late at night and I was too lazy to get a new DVD when it ended, and watched all the special features. I'm totally impressed with stop motion animation, and I caught a glimpse of the set they made, and the entrance to Jack's house had this cool wire creepy gate entrance. I think it was a jack o lantern, so my arbor isn't that close, but you get the idea. It's just a ratty little arbor, but I was going for a creepy entrance gate feeling...because something AMAZING my little guy and I have been working on is going on the porch and we needed an intro if you will.
So back to this thing.
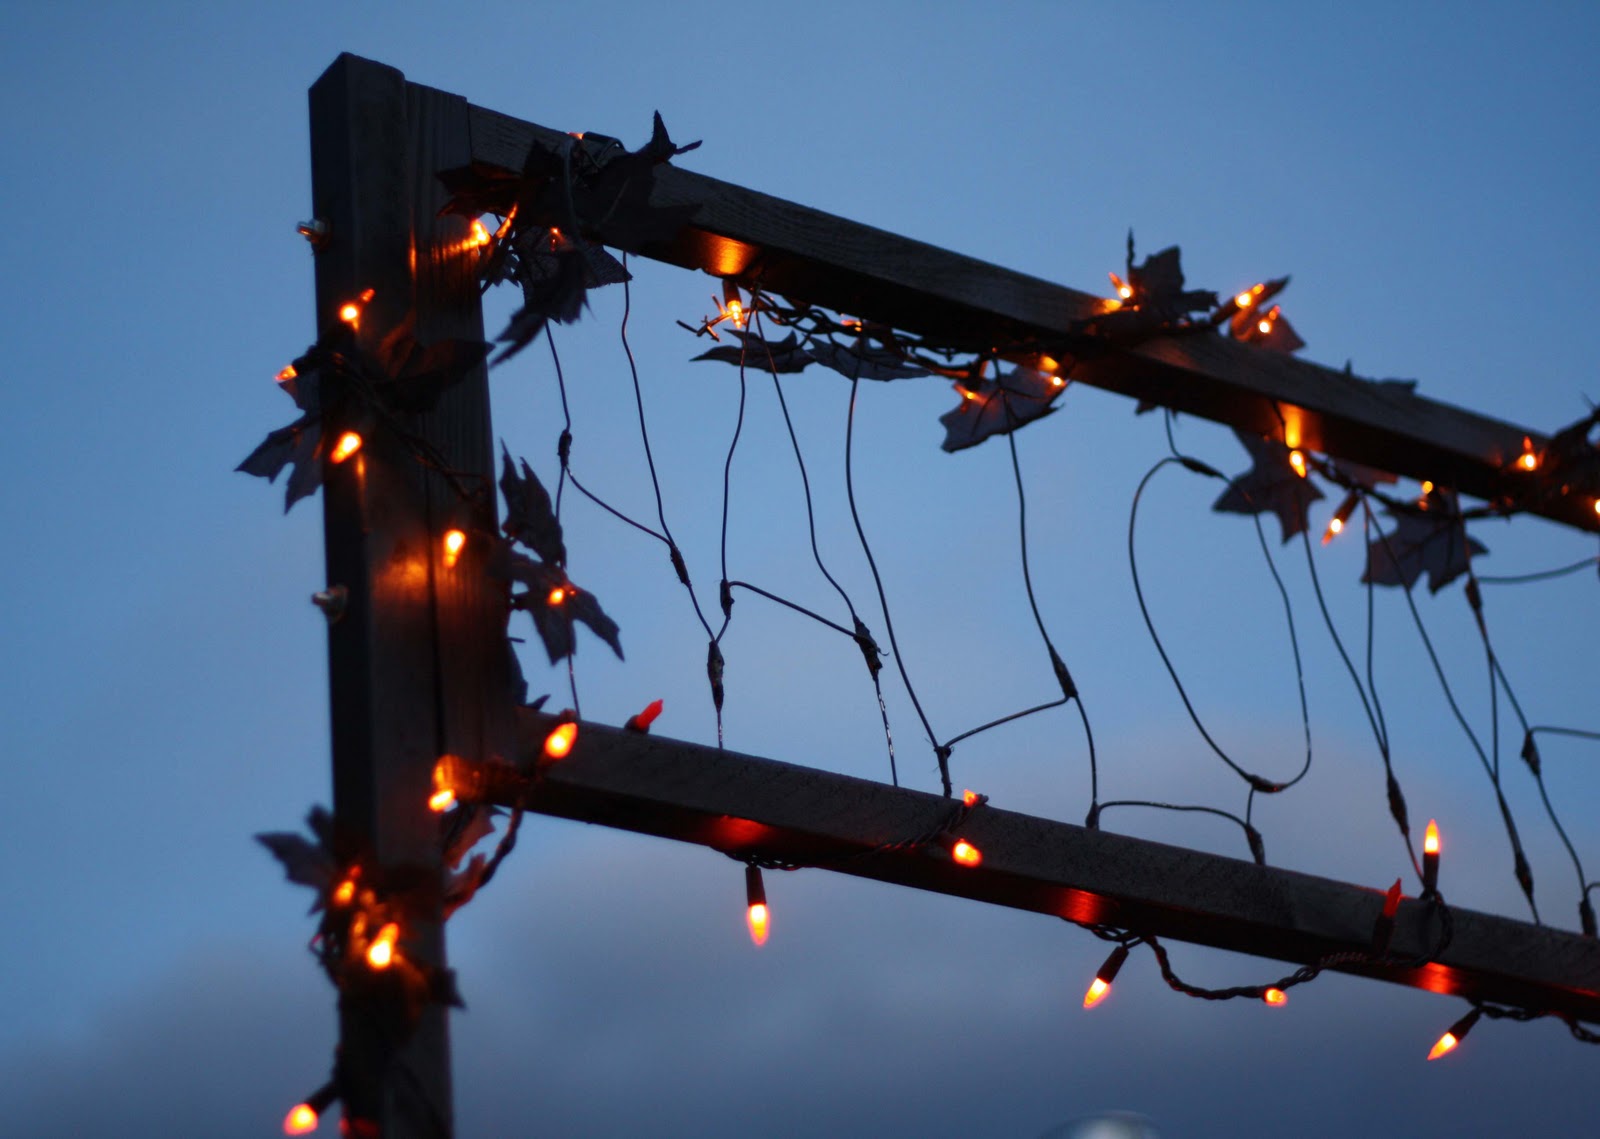
It just says "HALLOWEEN" in wire. I wanted the text to look creepy. In the end I kind of liked that it looks like a mess, but if you take a second look you can make out that there's actually a word in there.

It's just a simple arbor between our driveway and our front door.
{yes our house is bright yellow with grass green trim--barf. Previous owners. I actually think a yellow house is cute, just not paired with bright green like a dandelion. We have plans to paint the trim white, but it seems like an overwhelming project and will have to wait until next spring if we actually end up doing it}

I designed this so it could come apart, because my husband saw it and asked how we're going to store that the rest of the year, and the Halloween box is separate from the long legs. They're just connected by bolts that come apart, so I'll just have 2 long 2x2s and a rectangular separate sign box to store.
The lights we bought at Fred Meyer on sale.
There's a black maple leaf garland and just a box of orange flicker lights.

So to make your own if you want:
SUPPLIES:
cheap pine 2x2's:
(only $1.57 each where I'm at. You could also rip 2x4s in half if you have a table saw. You'll need 4 depending on how wide you make it. I bought 3 2x2s and used scraps I already had for the two short sides.)
wire:
I bought 100 ft roll of 14guage wire from Walmart for $4.00.
wire cutter
duct tape
wood glue (hot glue or probably even elmer's would work too)
drill (1/16 bit and 3/8")
screws 2" long
4 carriage bolts (3.5" long) with nuts (the screws were $0.19 each)
***for me, I just needed to buy the wire, 2x2s and bolts so it was only $10 for the whole thing + orange lights and I have a butt-load of wire left over)
INSTRUCTIONS:
1. Cut Wood
I chose to make the width of the long top and bottom pieces that hold the "Halloween" text 4 feet long. This was to make sure it could straddle my side walk. My 2x2 was 8ft long so I just cut it in half.
I chose to make the short sides 15" long each (my scraps) so the text box would be 12" tall since the top and bottom would come in 1.5" each side.
The two long legs are just the plain 2x2s 8 ft long.
2. Paint Wood
I had a latex black semi-gloss paint. It's interior paint, but I don't care if it starts looking weathered...it may just make it look more creepy.
3. Create Wire Message
I cut a piece of cardboard the same size as my final "text opening" of the box which was 4ft (48") by 12" tall.
I wrote out my HALLOWEEN and planned how I would connect the wires. Many letters connect to eachother to look more creepy and make it easier to construct letter chunks rather than each one separately.
For example, on mine the letters are connected in 3 groups:
HA LLO WEEN
HA LLO WEEN
This is based on the letters shapes and which would go into the wood frame.

Using the wire cutter snips, I just started making my letters and used duct tape to secure the joints. I thought about soldering the joints, but my husband said duct tape would be strong enough and a lot easier.
The wires that go into the frames were left 1" or so extra long beyond the cardboard to be able to go into the frame.

4. Secure Wire Words to Frame Top
Once you've shaped your letters, I took the top frame pieces and spaced my letters out. I marked where they would need to go into the frame.
Using the 1/16" tiny drill bit, I drilled holes at my markings probably 1" deep.
Then I dipped the ends in wood glue and jammed them in my drilled holes.

5. Finish Word Frame
Next I screwed the short sides of the frame to the top.
Then I placed the frame bottom in place to mark where the wires would go into the bottom. At this point some letters had to be pulled out of the top and trimmed, and reinserted so they would be centered vertically. It was just kind of a hack job trimming all the wire ends to fit in the drill holes of the frame.
In the end, I drilled all the holes for the frame bottom, then screwed it to the frame.
So at this point I had the word frame all screwed together and just the wire letters secured in the top.
It made it easy to just pop in the wire letter bottoms to the drilled holes since the frame was already all screwed together.
I chose to spray paint my wire/ duct tape word black. I actually had to prime it and then spray it all black.

6. Connect Word Frame to Long Sides
To connect the word frame to the long sides, measure and mark, or if you're lazy like me, clamp them together and drill through both at the same time, so their holes will line up.
I used 3.5" long carriage bolts to connect them together.
After Halloween, you can just remove the bolts to store the long legs separate from your word box.

7. Post Arbor
I just dug probably 8" into the ground on each side of our walk to post it. I have the orange lights for night, and it's just a fun, cheap, little outdoor project.
I hope to reveal our big Halloween project soon...hopefully this week.


3 comments
That is AMAZING!!! The coolest Halloween project I've seen - can't believe that wasn't the big one!!
ReplyDeleteI like the lookf of the duct tape after it's painted, it adds to the sign cause it's not all one width the thicker parts with the tape just add to the creepy. :)
ReplyDeleteThat is so cool and creepy and I want to tell you on my monitor your house looks beige with dark green trim and it looks nice!
ReplyDeleteThank you for stopping by, we love to hear from you!