You all know our mom is totally amazing. She made the most colorful and tedious quilt for my Christmas gift, and I have to share it with you! I have 17 chickens and a big garden, so she made me a chicken quilt. She stitched a bunch of different chicken blocks, then put them all together to fit the guest bed in my house. My favorite block is the rooster. She topped the whole thing off with a garden gate border. Each flower is beautifully folded like origami and hand stitched into place. If ALL of that wasn't enough work, she hand quilted the whole thing by herself. The woman has endurance like a terminator.
I'm trying to catch up and document all the projects I created this summer for my husband's office.
This one is in an exam room and it's just a huge, simple painting.
My husband chose our local desert area as the decor theme, (which was a challenge creatively).
We have one of the highest sheer cliffs (I think in the top 5 of the U.S.) and it's an attraction to the area for hiking or dangerous outdoor recreation.
The desert is in my husband's blood I guess.
His dad was really familiar with the desert from owning a fossil and mineral business.
A year before my father in law passed away he and my husband took a day exploring the desert, the cliff is in the background.
So as an interesting piece of mountain, and some sentiment to my husband, it made it's way in the exam room art.
The painting isn't that great, I keep wanting to go back and add more orange hues between the yellow and blues and purples.
It's a huge canvas, almost 6' wide.
I built the frame with 1x2s and stretched and stapled cotton duck canvas around.
To create a sharp crest, I used a projector to trace the line on contact paper, then cut away the mountain.
I adhered my contact paper stencil to the top (sky) and painted in the black mountain silhouette.
At that point I could just peel off the stencil and plop on the color: sky, color, and clouds.
You can see the next project on the wall...the thick rustic bolt shelves I built...next post.
My month of August has been busy building, painting, creating and decorating for my husband's new job.
They updated an older clinic and I volunteered to do the decor.
I'm starting with my absolute favorite project from anything I've made for his office,
the painting for the kid's corner in the waiting room.
I had to design all the kid things in a small area, so the painting actually turns a corner.
I've been planning this painting for years, but thought it would be fun to
display it where lots of people could enjoy it rather than just hanging in our toy room or something.
I will say if my husband ever switches jobs, I am taking it with me, however.
Even when I envisioned it on one flat wall, I had planned it to be a triptych painting in three panels.
Below in an Ikea spice rack holds the original Maurice Sendack
children's book to read.
So how I made it:
The painting is on 1/4" thick red oak sheeting.
I bought it at Home Depot in a 4'x5' sheet for $35.00.
I cut my painting 3.75' x 5' wide. The rest of the sheet went to other projects.
I wanted the trees to be the actual wood, which is why I chose to paint it on the wood sheeting,
so I cut out tree shapes from contact paper
(the kind you line your silverware drawers with) and stuck them on the wood.
I used craft acrylic paint and dobbed on the background,
then peeled off the tree stickers revealing the red oak trunks.
Using the book as a reference, I sketched on the characters.
My son wanted the little goat wild thing rather than the beak bird,
so one wild things is different from the scene in the story.
My son helped paint the grass at the bottom.
I tried my best to mute the colors by adding gray to most of them to attempt to duplicate the faded wash look of the book,
which used watercolors.
I went through more than 5 thin Sharpie permanent markers to shade all the details.
I chose to only detail the wild things.
The trunks are just raw wood, and the leaves and plants were just paint.
I thought the detailing only being on the characters helped them pop off the painting better.
(Moishe is my favorite)
Once the painting was finished I added a clear coat of satin Mod Podge to protect it.
I considered polyurethane, but it seems to yellow too much and I didn't want to risk it.
I was a little nervous to take my paiting and hack it on my table saw into the three pieces, but I went slow and it left clean edges.
I also rounded the corners with a coping saw to help give the three panels a unified dimension.
Because these are only 1/4" thick, I obviously couldn't drill hardware in the back.
I also wanted them to stand from the wall, so I ended up using magnets to float mount them.
My mom had given me super strong magnets that hold 10 pounds.
(they are serious magnets, two got close enough to join, pinching my finger between them...they can be dangerous)
So I used epoxy to glue the magnets on the back of the paintings (top and bottom in center)
For the other magnet half to attach to the wall, I took a scrap of of 1x3 and drilled a hole with a spade drill bit and glued the magnet in the scrap.
I am a big fan of this book!
More office projects to come!
Last year I made my mother-in-law a quilt using the shirts of my father-in-law who passed away suddenly 2 years ago this May.

I had a bag of what was left of his shirts, and just couldn't throw them away, so I thought I'd make a smaller quilt for my husband.
It was his birthday recently and I barely finished in time.
![]() |
| here's the "tag" I made for one corner |
My husband had a great dad.
He operated a wholesale fossil and mineral business on their property that required hard physical labor every day.
Most of the time he wore light collared western shirts for working in the desert, but they also had button chest pockets to hold his phone.
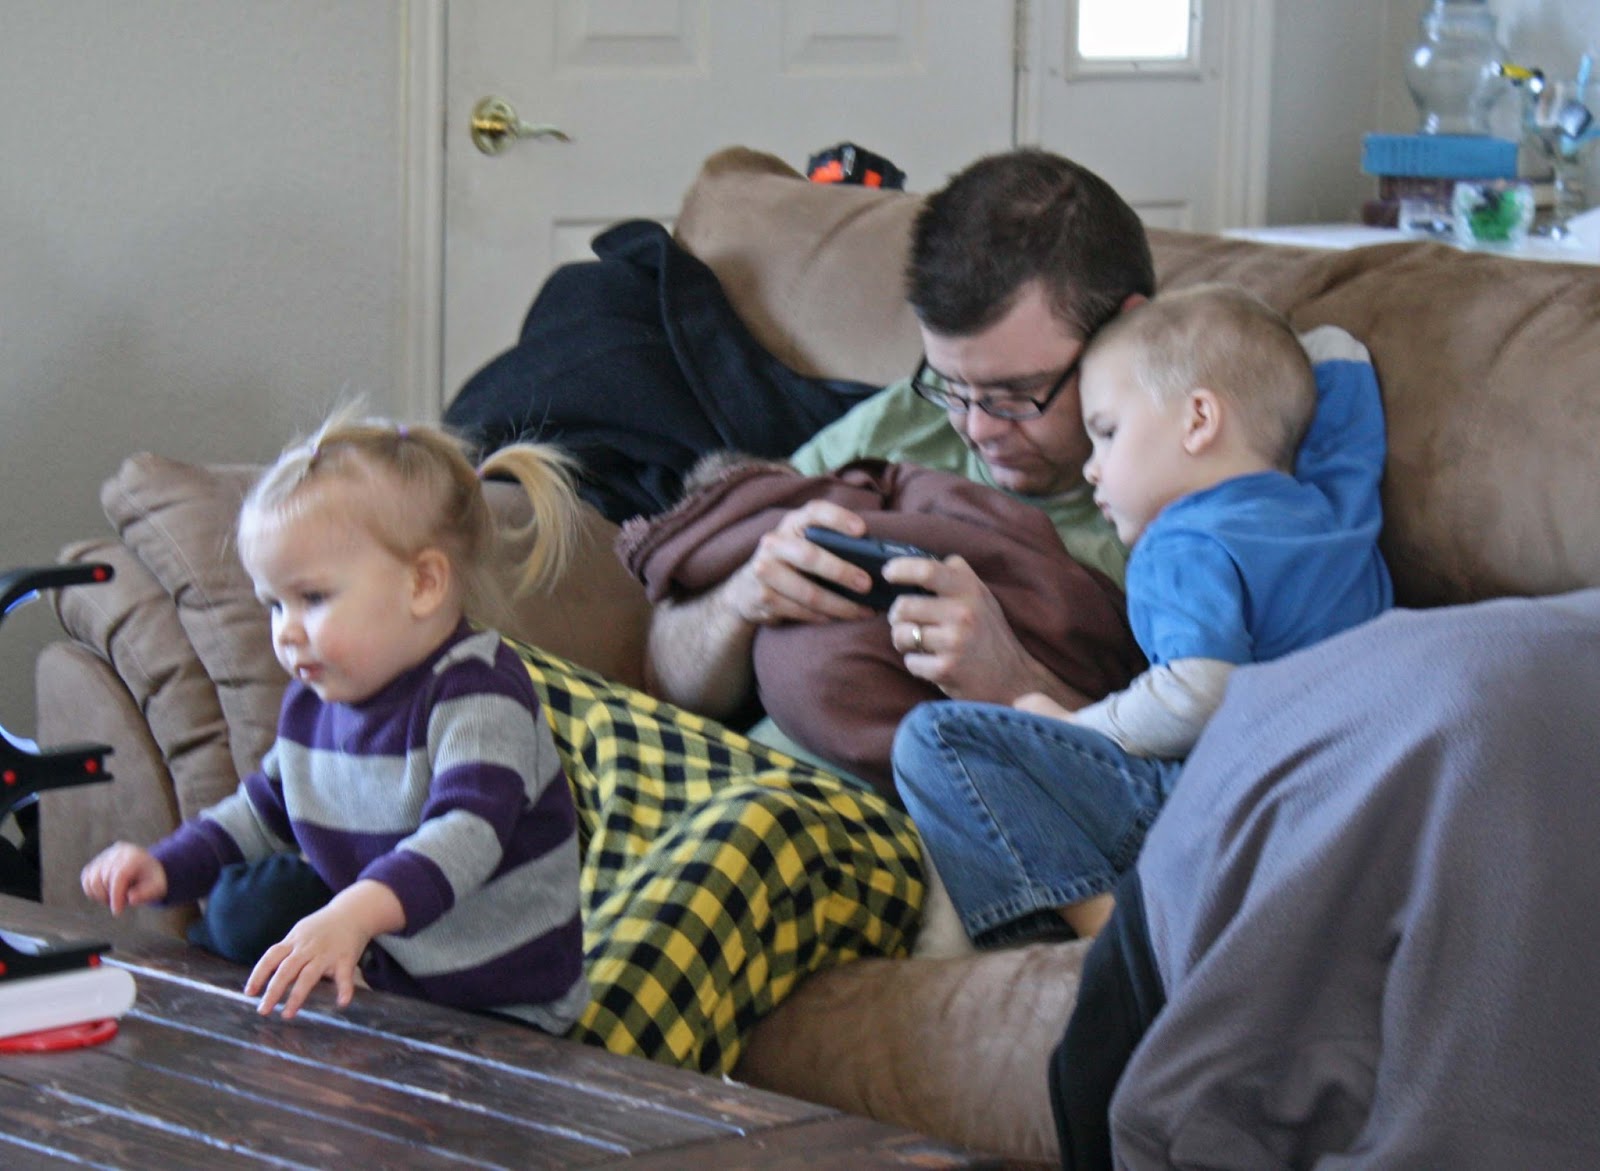
This was the last picture I took of him, holding Ellie and her cousin (they were born on the same day).
This yellow shirt he's wearing was used a lot in this quilt.
He was a great grandpa to our kids, and one of the things that was tragic at his death for our little family is the fact none of our kids will have memories of him.
They were just too little.
It's an emotional thing to use clothing from someone you love to make a quilt.
But it's a beautiful thing I've found too.
As you sew, each shirt reminds me of different times my father in law wore them, which led to thinking of my husband, and how he's a lot like his dad.
Both are noble men who love their families.
I think Rhett learned to value having a wife and kids from his dad.
Early when I first met him and we were just friends I remember Rhett complaining how jealous he was of other friends who were married and having kids already.
For a 22 year old guy this was an unusual complaint--not having a wife or kids yet...and I remember thinking "this guy's a keeper", little did I know at that time I'd get to be the lucky girl to marry him the next year.
But unfortunately I wasn't quite as ready to start popping out babies like he hoped, so he still had to wait four years before that dream came true.
And Rhett's proved to be a great husband and dad.
This was taken right after Isabella was born...who says male brain's can't multi-task--Angry Birds with RJ, horsey ride for Ellie, while soothing the newborn baby too!
Igloo making with RJ
He tells great bed-time stories.
I'm lucky to have Rhett for a husband and our kids are blessed with a great dad.
Happy Birthday!
This is the 10th year I've been around to celebrate his birthday with him.
I actually made him a quilt the first time, we were engaged and he was turning 23.
Time has flown!
But back to the quilt:
1. Cut the left over shirt remnants into 3" wide strips.
2. Chain sewed them all together in one huge strip.
3. Began at one end of the huge balled up strip and cut segments 50" wide.
It went quick, just put down 2 pieces of masking tape on my kitchen floor 50" apart to quickly measure and cut the huge strip into many segments.
4. Sewed all the shorter segments together, just grabbing and sewing randomly.
5. Machine quilted using this method:
Quilting was just straight lines across the middle of every other row.
6. Bound with handmade gray bias tape.
Rhett's favorite color is black, so the backing had to be black, which makes the quilt seem more masculine.
We've used all the same creepy Halloween decor we made the last two years.
But this time around it's all on the mantle, and the nature art that usually hangs there just wasn't working, so RJ and I planned a new Halloween art piece for the mantle.
The wall hanging is a base of old fence I snagged from a neighbor.
On top we painted with craft paint, stain, and more paint.
It was really quick and thrown together, leaving some raw wood and uneven edges.
On top we painted with craft paint, stain, and more paint.
It was really quick and thrown together, leaving some raw wood and uneven edges.
Here's how it looks with all the other creepy mantle projects.
A few of my favorite details include the small but creepy dead man hanging on the smallest, most distant tree.
I debated about putting it in as it's pretty morbid, but I doubt too many people will notice...and it's Halloween and there's not really any other time to be creepy.
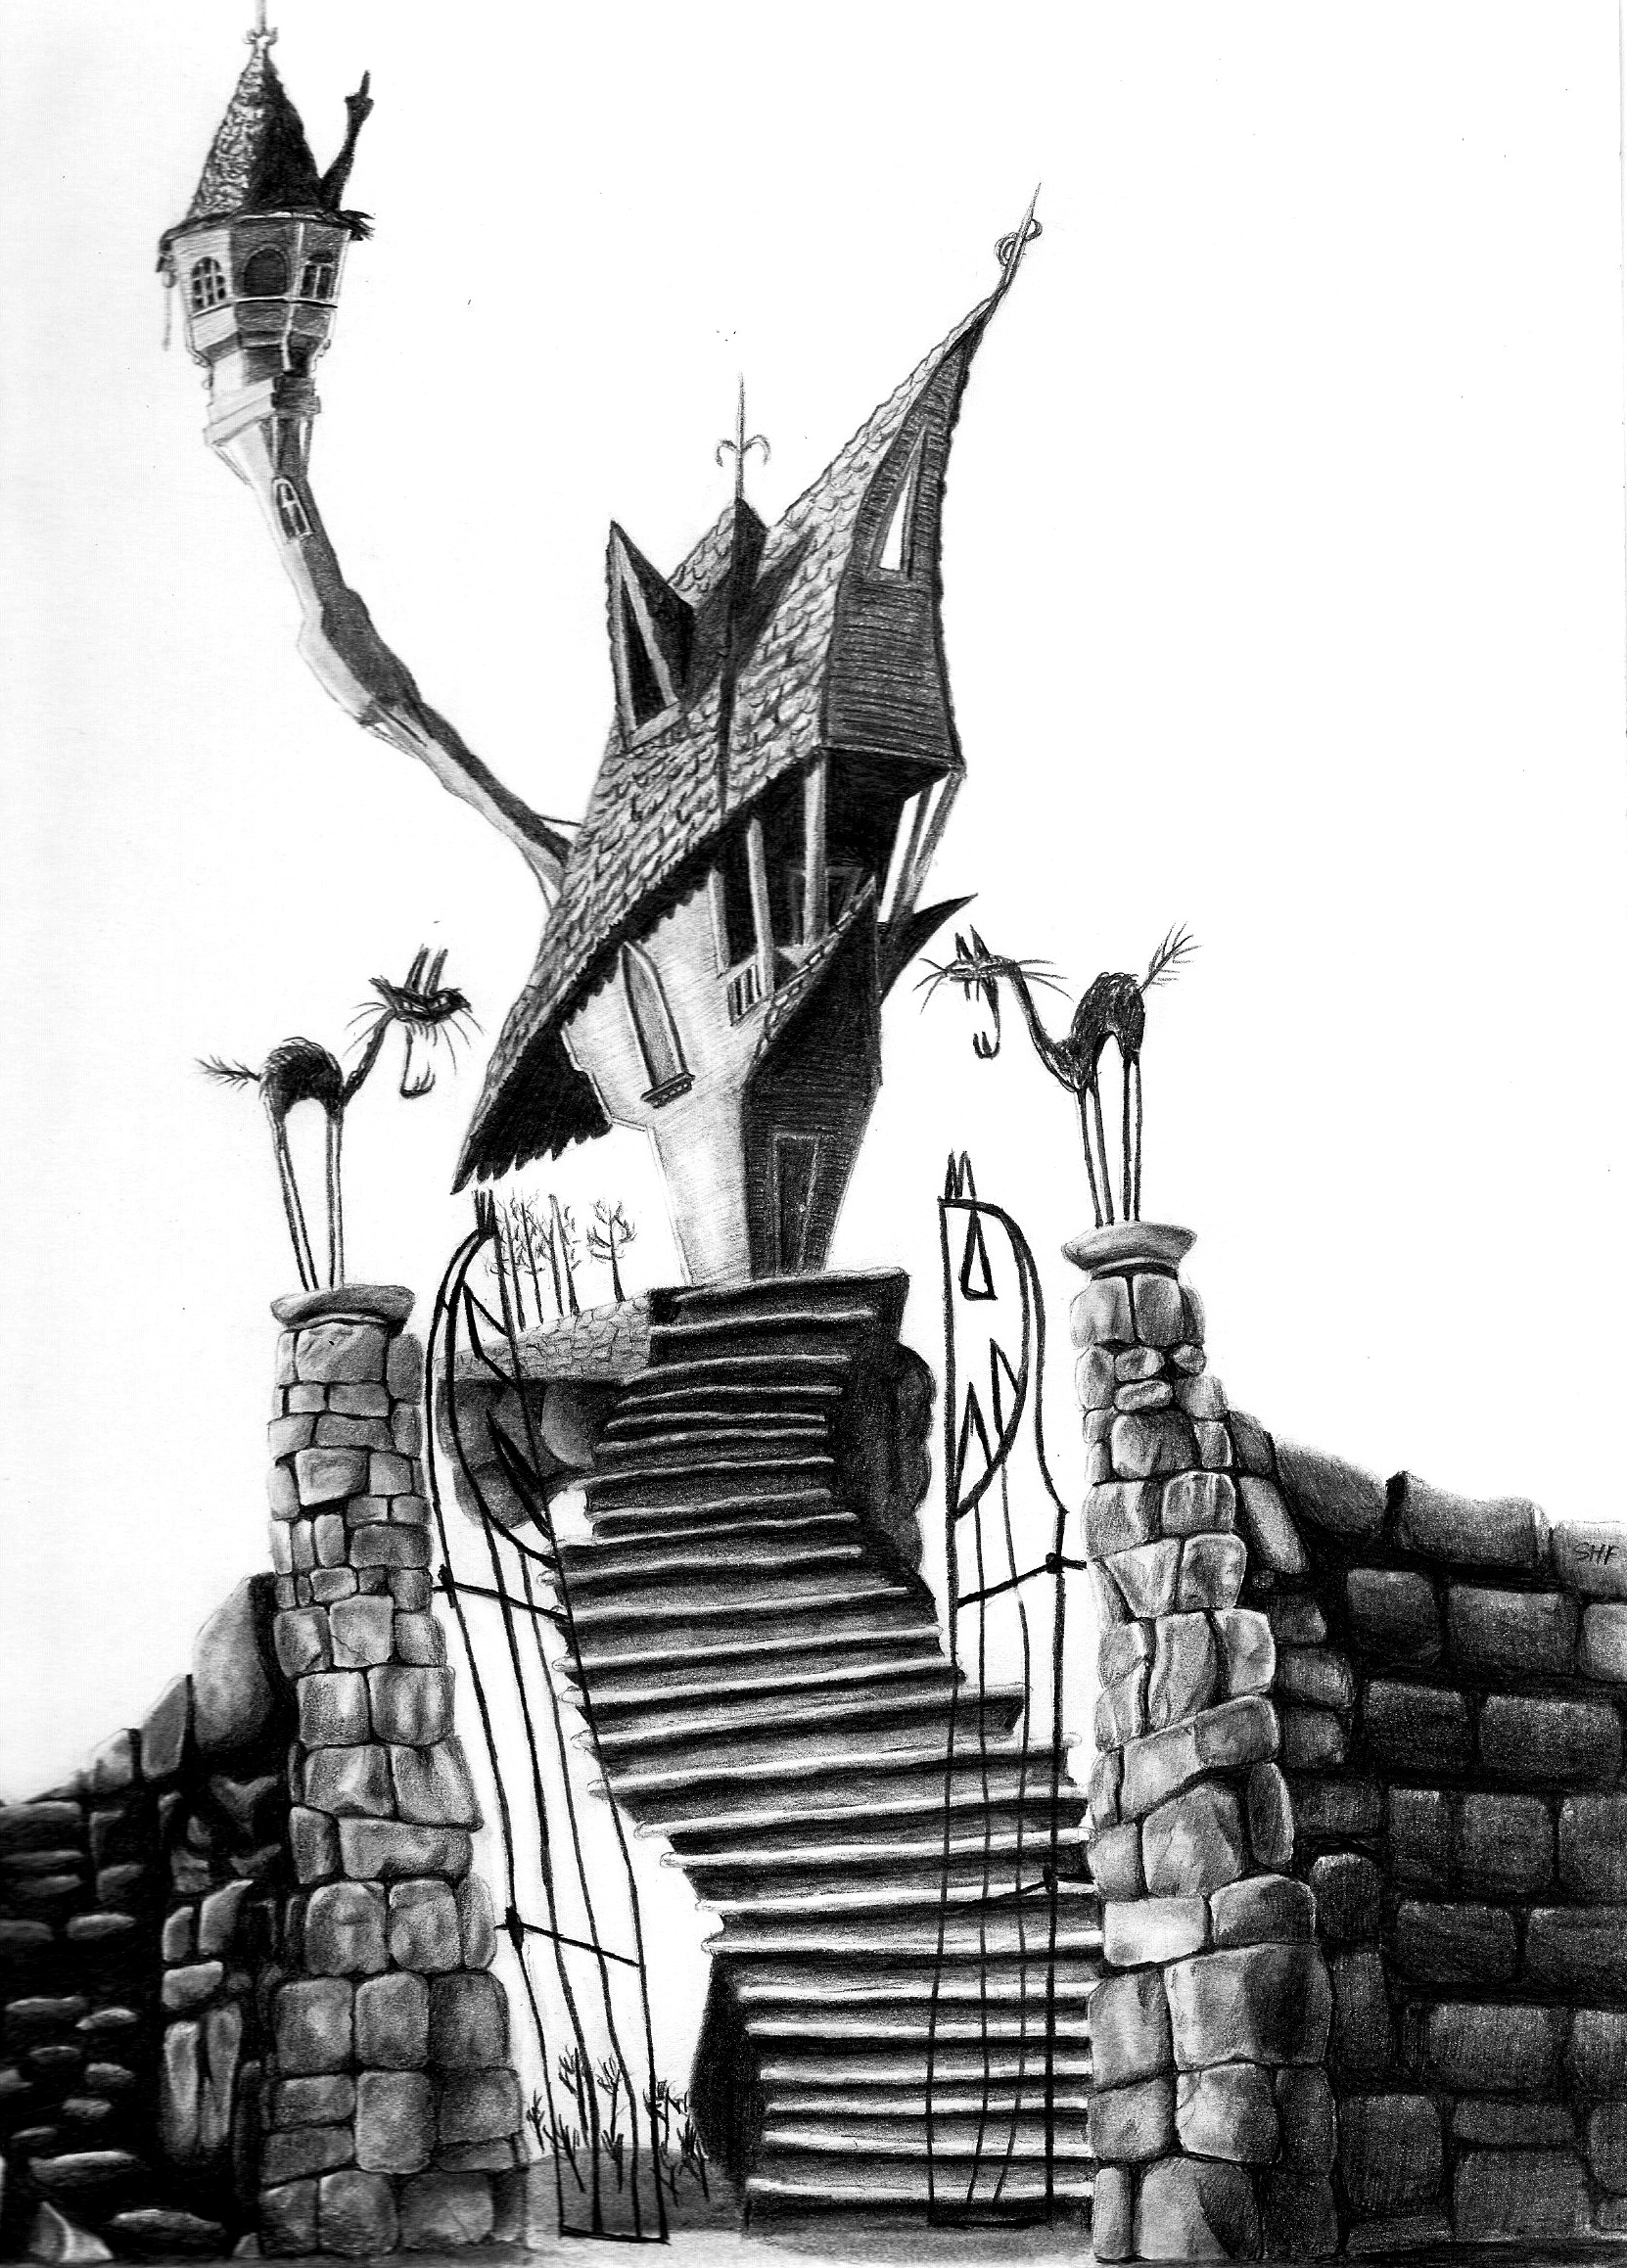
The haunted house in the distance is actually a mimic of Jack Skellington's house from Nightmare Before Christmas.
previous Jack projects:
So to make your own cheap, easy Halloween landscape:
I used scraps and a nail gun to attach the boards together, not even making them even on the ends or cleaning them up.
Because the paint job is meant to be sloppy to distress later, RJ did the green and I painted the orange. I'd recommend using dry brushes and minimal water for this part if you're planning to sand paint away to reveal wood grain.
We used a mixture of craft paint.
I used a hand sander and 60 grit sandpaper to quickly remove the paint in areas, revealing the fence and wood grain.
To mute the bright orange and toxic green, I applied wood stain on top.
For the bottom "pasture" part that would be in shadow, I used black Winmax ebony wood stain.
Then to muddle the orange sky, I used Minwax Red Mahogany, but really lightly. I didn't paint it directly on, but dipped a rag and used very little over the orange.
The above shot was my first run on adding the elements. I originally wanted to keep it really simple, just the tree and distant creepy house. But the way the boards were painted made it look crappy to me, like half top orange, bottom green, and it looked like I just plopped vinyl stickers on.
So after it sat for a week on our kitchen table, I decided to finally come back and try to add dimension to make it look like what I planned, a sunset and landscape.
I thought about having a creepy stagecoach driving to the house, but kept it easy with more creepy trees and a few head stones. I think the road is what really gave it the depth to look more like a scene.
Happy Halloween!
We have a few more Halloween projects in the works.