
Nightmare Project: Natural Stone Patio
8:23 PM
This project has taken FOREVER...and it's not even finished yet. We still have to add Polymeric Sand but we won't get to that until the end of July.
Before I go on with the nightmare this has been, mainly because of me, let me first explain my husband. Rhett is very supportive of my hobbies. He's not necessarily interested--for example if I ask what color of trim on a pillow would look best he has no opinion and probably couldn't care less. But, he is very supportive in the fact he gives me freedom to do whatever I want. Like pick all the paint colors for our house, or paint the kitchen cabinets even though he liked the wood look better, etc.
So Rhett just lets me fly.
The problem is, sometimes I fly right into a glass window.
Like the situation with this patio we've been working on it over a year now.
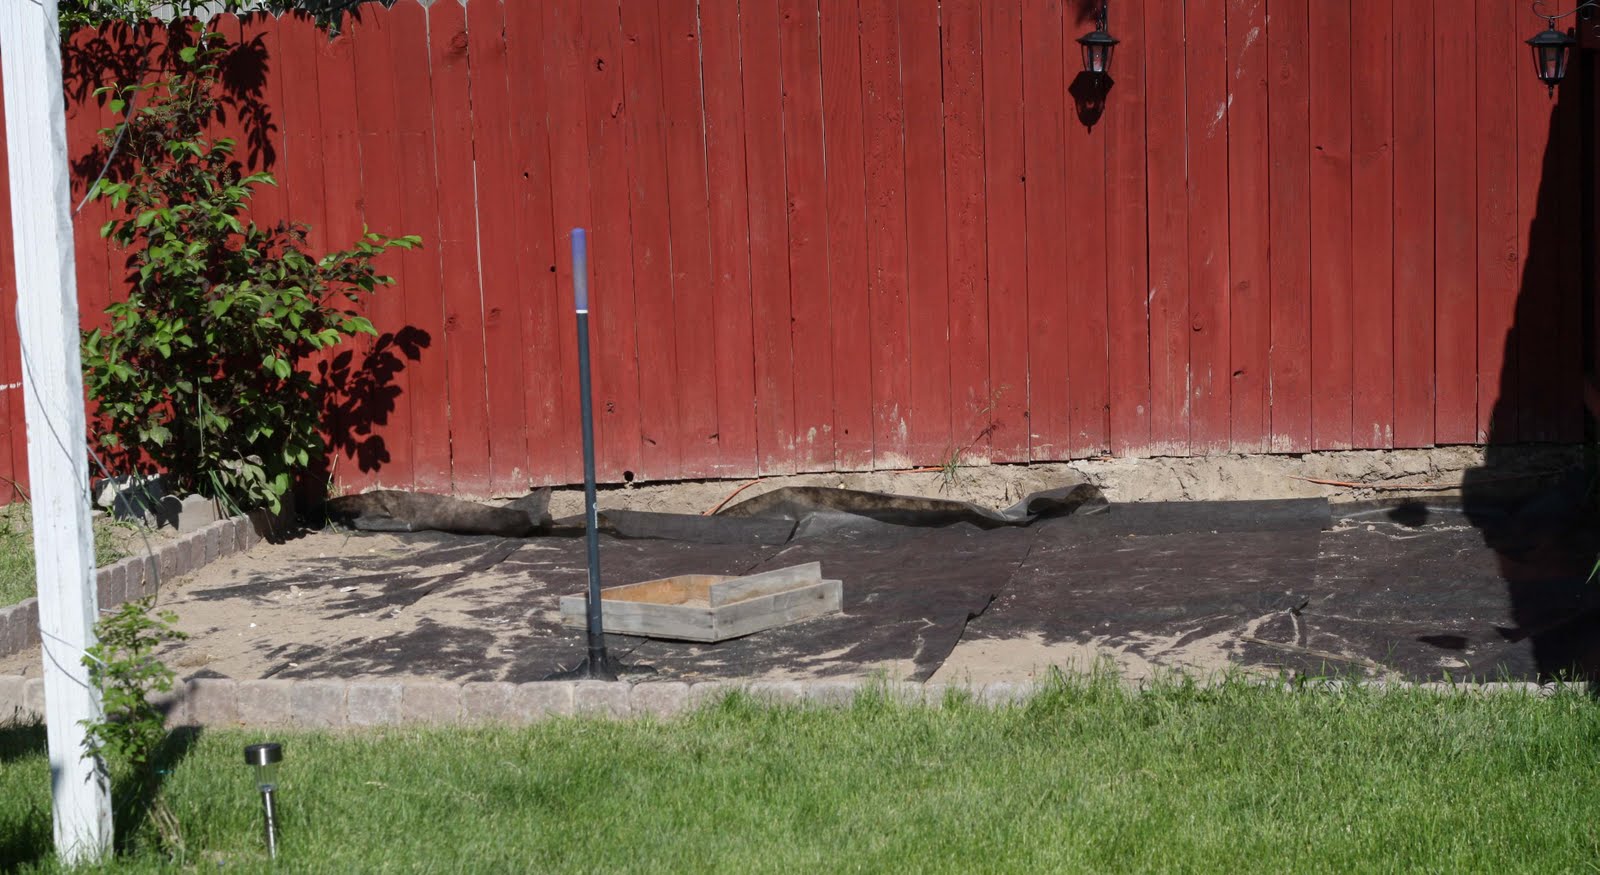
Here was the yard when we moved in.

There were two flower beds, and the one in the corner just looked weird to us and was full of weeds. So we kept the one flower bed you can see on the left, and we...I??...decided it would be great to turn that corner of the yard into a patio.
So we marked off where we thought would be a good size, removed the concrete flower bed border and all the sod.

Then, Rhett's dad brought us a butt-load of purple shale rock he quarried from western Utah. Rhett's dad was in the wholesale rock/ mineral business.
An RV pad full of free rock, pretty sweet.

Well Rhett started his new job and went to work 60-80 hours a week, and I went to town with the patio.
So not thinking or researching the proper methods of making your own patio, I just started laying all the stone last summer. Pretty much a whole month of just laying this stone right into the dirt. No thoughts of leveling or anything, just plopping the stones down.
Completely the wrong way to lay a patio.
I was even just pregnant with Ellaria, and exhausted, sick, hot but kept going.
The sad thing is the entire patio got laid out.
Then we tried to put chairs on it and I realized I was leaning at what felt like a 45 degree angle.
Rhett softly explained at this point, he'd done some research online and mentioned things like weed barrier, paver base, sand, and another little thing called LEVELING.
You can watch this video here and see the proper way in case you are also thinking of making your own patio.
It was mid-August at this point and we actually had to leave for 2 months because he had to work on the other side of the state. So we came back in October and it started snowing, and my crappy, completely wrong patio sat all winter.

So along came 2011. I had a baby and the snow would not stop coming. So finally mid May I thought of fixing the patio again, and pulled up all the rocks I laid last summer.
We began by leveling the area, and digging out all the dirt.
For water drainage, we (this round Rhett stayed much more involved) learned to slope the patio away from the fence 1" for every 4 feet.

Once level, we laid the weed barrier fabric, then built ourselves a border with purchased paver bricks.
**The weed barrier was much cheaper at Costco than Home Depot or Lowes.
HD or Lowes = $15 for a roll 3'x40'
Costco= $30 for a roll 4'x200'
The rock border we stood rectangular pavers on end and glued them to each other with landscaping adhesive, which is a tube like calk, but it's to glue rock together.
From here we needed 3" of gravel paver base. You can buy it at HD or Lowe's in bags, but we found a local rock company and 1 ton of gravel was only $5.00, where it would have cost $200+ for all the gravel and sand from the big box store because they only sell tiny bags.
So to get the 3.5 tons of gravel and 1 ton of sand required, Rhett rented a dumping trailer for $12/hr.
This part of the project was actually the day of our 7 year wedding anniversary.
Rhett had just come off working a 24 hour shift, went and got the trailer, and it took 3 trips.
So for our anniversary Rhett stayed awake 36 hours to get the gravel to our house and went to bed. I spent the day wheel-barrowing 3 tons of gravel into the patio hole.
Super romantic....we know.
Once the gravel is there, you wet it and tamp it flat. That took an entire day because we just got a $30 hand tamper rather than renting the machine.

Next you layer 1" of coarse sand, which was pretty easy, then lay your rock.
If you bought manufactured perfectly shaped pavers, this is an easy step. But we saved money by using the natural rock, which varies not only in shape but thickness, and it has taken forever. Think Squintz from The Sandlot FOREVER.
Two whole weeks of feeling like all we do is lay rock and nothing else, RJ got sick of playing trucks in the dirt, and Ellie would go from a nap in the swing, tummy time on a blanket on the lawn, eat while I feed her leaning on the fence, etc.
So finally last night it was done.
We had to hammer and chisel a lot of them to make them as flat as possible.

Because we used the natural,uneven purple rock, we're letting it sit a few weeks, a) because we're sick of the patio and need a break and b) because we're seeing if any rocks settle and need adjusting before we lay the polymeric sand which has an adhesive and gets cement-like to help prevent the stones from moving.

So we saved a ton doing it ourselves, and well over $500 having the free natural stone. And, I think the natural, organic, purple rock all laid out does look pretty cool.
In fact, so far:
stone: free
paver border: $50
gravel/ sand/ trailer rental: $90
tamper: $30
the polymeric sand may cost up to $100 depending on coverage
So total, the whole patio was approximately only $270
But was it worth it?
Ask me next year.


16 comments
awww... this story reminds me of the many projects that my husband has helped me with-- I call him "The Finisher". The patio looks beautiful! You can see all the love inside!
ReplyDeletewww.strawbazies.blogspot.com
This comment has been removed by the author.
ReplyDeleteThat is beautiful!! I want to do a similar thing with our backyard, but we haven't gotten around to it yet. Now I have a starting point :) Thank you so much for the info!
ReplyDeleteGood job! I know you will be enjoying this for many years to come and it will be so nice to share that you did it yourselves! Way to go.
ReplyDeleteOh my goodness, that DOES sound like a nightmare! It's impressive that you've stayed with it...can't say I would have. It looks great!!
ReplyDeleteI probably would have given up except we'd already ripped out the lawn!
ReplyDeleteTHANKS SO MUCH for the Squintz clip--made my day! And, the patio looks absolutely amazing!!!! Seriously!!! BUT, one question: how are you EVER going to part with your house after everything you have done?????
ReplyDeleteGood to know... we actually have a partially paved courtyard and we have tossed the idea around to finish it off with something other than grass in the rest of the area... but it's been going on for like 3 years now... I think I want to tear everything out, level it, and pour cement. Then I will just cute pots and build planters if I want any plants.
ReplyDeleteYard work is hard work. :) And my husband is "supportive" of me too, but not super willing to help. So I get my kids to help as much as possible. This week he is helping at Girls' Camp so we sanded and painted a bed frame.
We've done several projects like that that in the end, you just say Never Again. (RV gate on our side yard was open to the world to see and visit for about 3 months I think) Sometimes we try to be so thrifty we end up hurting ourselves in the end! It does look nice though, so way to go! Whatcha gonna do with it? Picnic table?
ReplyDeleteAll I can say is WOW! It looks great but I probably would of given up too. So I was trying to sew with elastic thread. I dont know if my machine can handle it or not, but it never turns out! I am getting sick of it. I hand wind it and my machine does not pull it tight and it looks like S's on the back and wont shrink done b/c its not tight. sometimes my upper thread gets stuck around the bobbin too. Any advice?
ReplyDeleteIt's beautiful. I love the purple rock!!!! What a lot of work, though!!! I'm sure over the next years, it will become worth the effort!
ReplyDeleteI think everyone undertakes a project like this. And then decides that next time they will pay someone! It looks beautiful!
ReplyDeleteIt looks nice. Wow what a lot of work! My husband is not a handy man (can do light blubs if I help)so I depend on my father for advice and help. Enjoy.
ReplyDeletePhew! That sounds like a LOT of work!
ReplyDeleteWell done! So beautiful. Love the natural rock random looks. So organic and welcoming. Hope you'll get lots of use out of it. Enjoy! And very inspiring....now I need to finish at least one of those many projects I've started. Thanks for sharing! :) :)
ReplyDeleteI did a brick walkway so I understand entirely what you went through. Although I had bricks not rocks so I was saved part of that torture ;)
ReplyDeleteThank you for stopping by, we love to hear from you!