
Stool Makeover
12:03 AM
A little basic reupholstery project.

I found this stool at the thrift store for $4.00.

The legs were sturdy, but the seat was trashed.

1. Paint the Legs
Remove the cushion from the stool and wash the legs down. You could sand, prime, then paint, but I just went straight to painting with latex semi-gloss black paint. I used a brush to paint 2 coats.

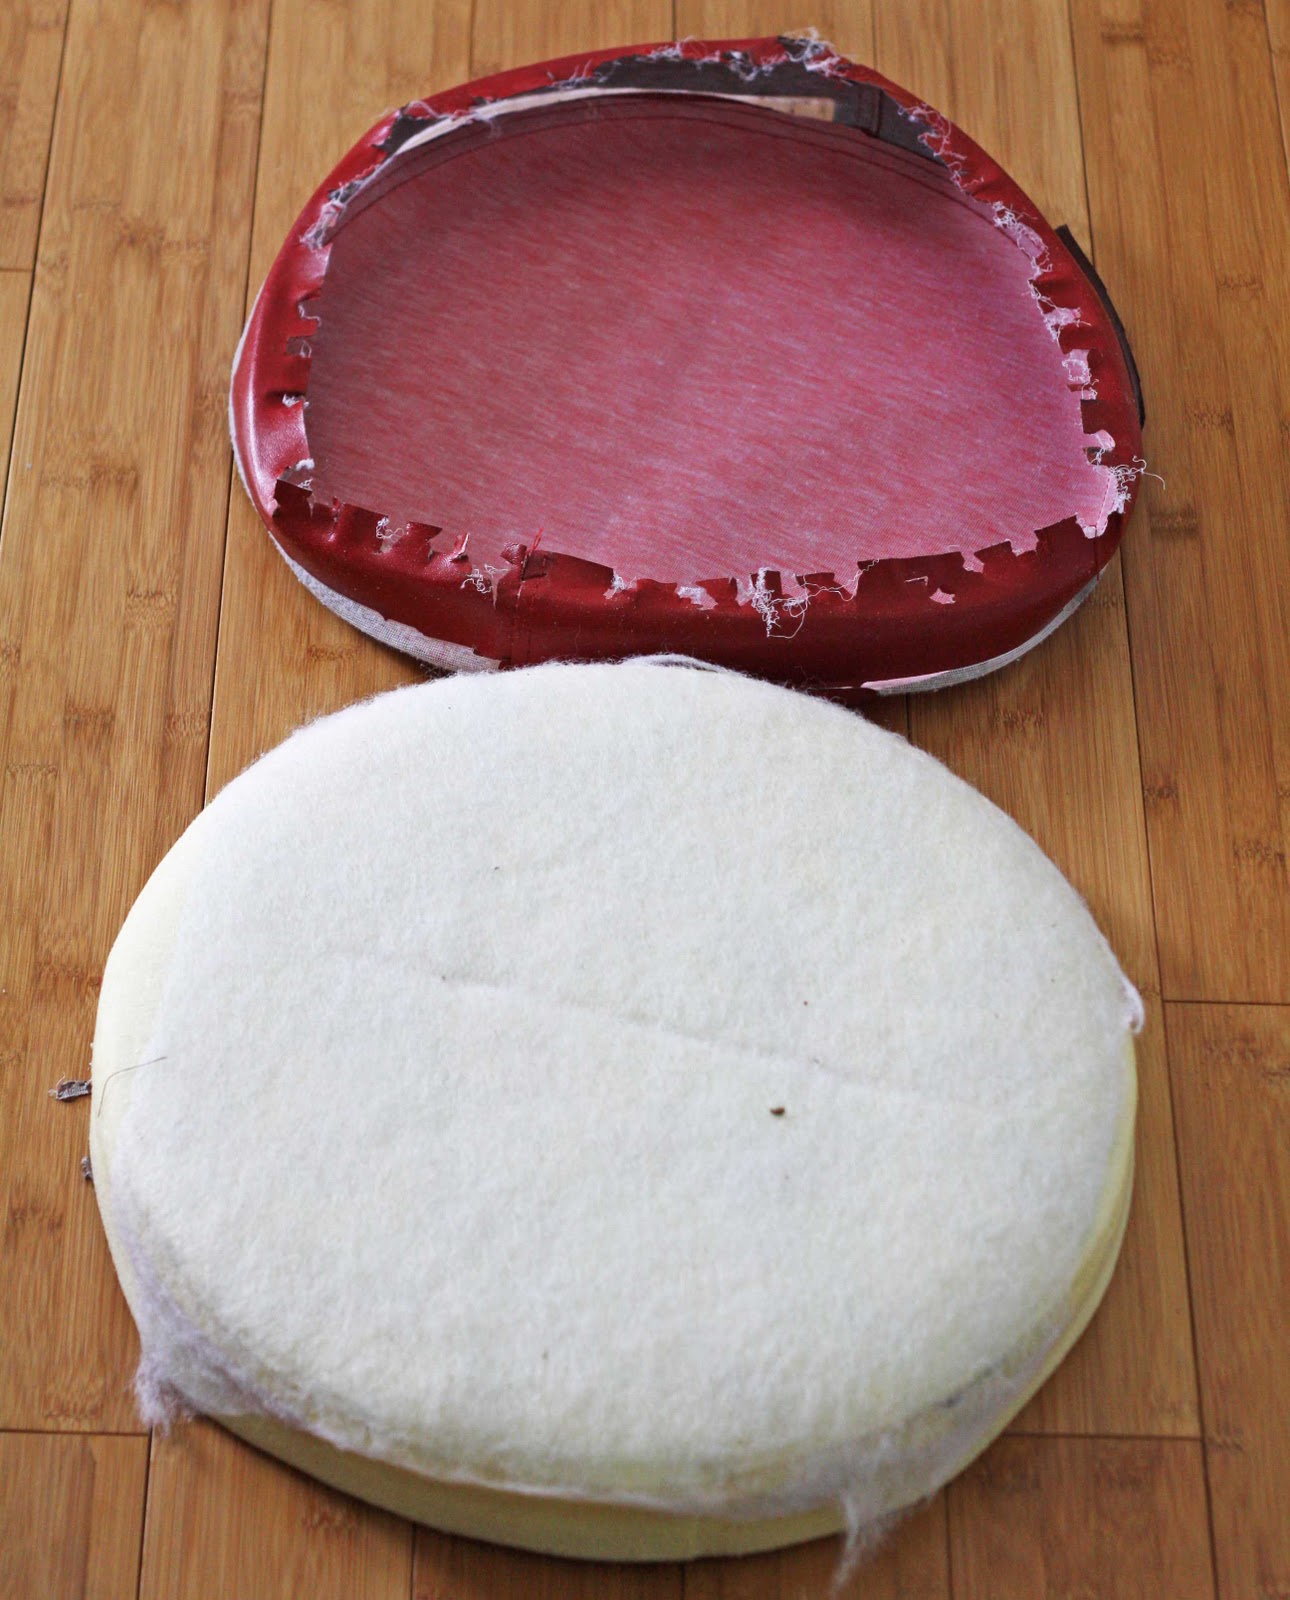
2. Take Cushion Apart
I tore off the black finish layer and threw it away.
Then using a screwdriver, pulled all the staples out of the bottom so the red vinyl cover could come off, leaving the bare cushion.

4. Make Pattern with Old Cushion Cover
To make the new cushion cover, I cut the sides off the old cover to get a circle the same size of the cushion top.


5. Cut Out New Fabric
Using the old cushion as the pattern, I traced the circle on the back of my new fabric with a black marker. I cut about 1" extra around the edge for a big seam allowance.

I also cut a circle of clear vinyl sheeting. My damask print is on tablecloth vinyl, (leftover from this tablecloth) which has the plastic coating, but isn't that durable, so I thought an extra layer of plastic would help protect the seat.

The last piece to cut is a strip an inch wider than the old sides, probably between 4-6" depending on the stool cushion.

6. Baste Vinyl to Seat Top
If you chose to add the vinyl to the seat top, I sewed the two layers together along the marker line on the back of my fabric.

7. Attach Sides
Take your side strip and pin the right sides to the main seat. Pin all the way around, except the last 3-5" on each end of the strip where the loose ends will meet up.
Sew around the circle where you've pinned.

Next you need to sew the loose ends together.
1. Take the loose unsewn ends and have them meet around the circle to match up.

2. Pin the strips vertically where the new seam will be, to make a nice fit around the circle.

3. Sew along your pin line to make the final seam in your cushion sides.

At this point you just need to trim any excessive seam allowance, and finish sewing the last of the side to the cushion top, finishing off sewing the circle.
So now you have the cushion top circle with a complete side all the way around.

8. Top-Stitch Sides
To reinforce the top and side seam, fold the seam allowance down underneath the sides. I top-stitched 1/4" from the seam, sewing around the side strip.


9. Attach New Cover to Cushion
Fit the new cover over the bare cushion, stretching it down and around, making sure it's centered on top and smooth. Using a cheap $10 staple gun and 1/4" tall staples, I stretched the fabric around and worked my way around until the whole cover was secure.


At this point you could staple another plain black fabric to cover all the staples and wood base.

Then you just have to screw the seat back on the legs and you have a classy new stool!


7 comments
Wow! What a great tutorial, thanks!
ReplyDeleteI have a question though- do you have any tips for sewing oilcloth? I have been trying to work with it lately but my sewing machine is not in favor of it.
great work... looks fantastic ☺
ReplyDeleteWhen I read your blog title, I thought I was going to be reading about some kind of diet cleanser! LOL! I'm happy to see you weren't referring to that kind of stool...LOL!
ReplyDeleteJust gorgeous! I've been looking for some damask like that to add to my kitchen valance...but all I need is enough for trim...but 6 yards worth. It's killing me to consider buying $30 worth of fabric just for 6" of trim. Anyway, your chair looks AWESOME
ReplyDeleteGreat looking stool and an even better price. You did good again!
ReplyDeleteLovely clear tutorial Thanks
ReplyDeleteI've been thinking about doing something like this to my set of old stools, ever since I re-did a dining set we inherited. I just love what you've done!!
ReplyDeleteThank you for stopping by, we love to hear from you!